


I had recently gotten a macro lens for my camera and wanted to try it out on some beautiful flowers. A macro lens is used for taking pictures of small objects and can easily capture small detail. It really is amazing.
Materials:
-Box
-Scissors
-Tape
-White tissue paper
-Table lamp
-Black and white construction paper
I started by making a photo box. I found a box and cut the flaps off the top. I then cut a large square out of 3 sides and the bottom. I left one side solid. When I cut the squares, I left a frame and the corners of the box to keep its structure. I then taped white tissue paper over the squares to create a diffuser for the light that would be shining through. I could then tip the box onto the solid side to use as a photo box. I decided on either black or white paper for the bottom/back drop. I could then place the table lamp on either side of the photo box so that the light is shining into to box through the white tissue paper. I placed the flower in the box, finding the best positioning based on the lighting. The pictures turned out beautiful!


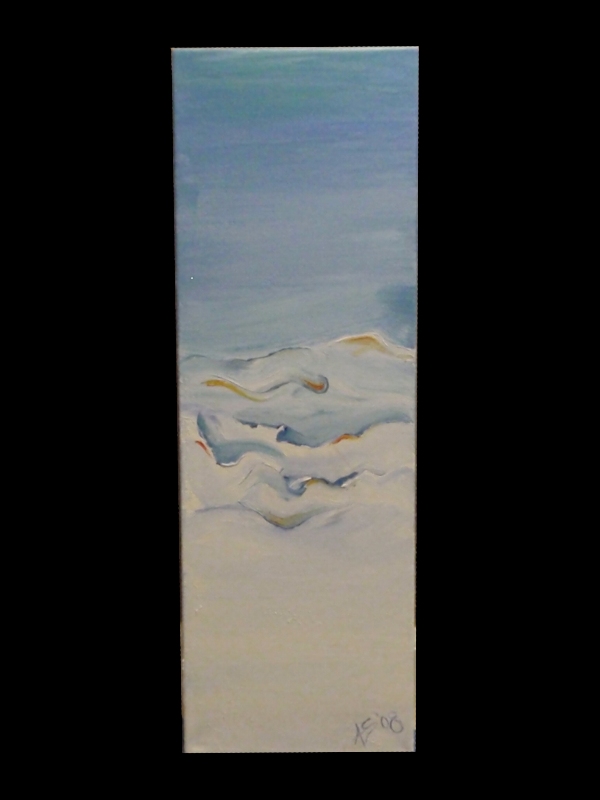
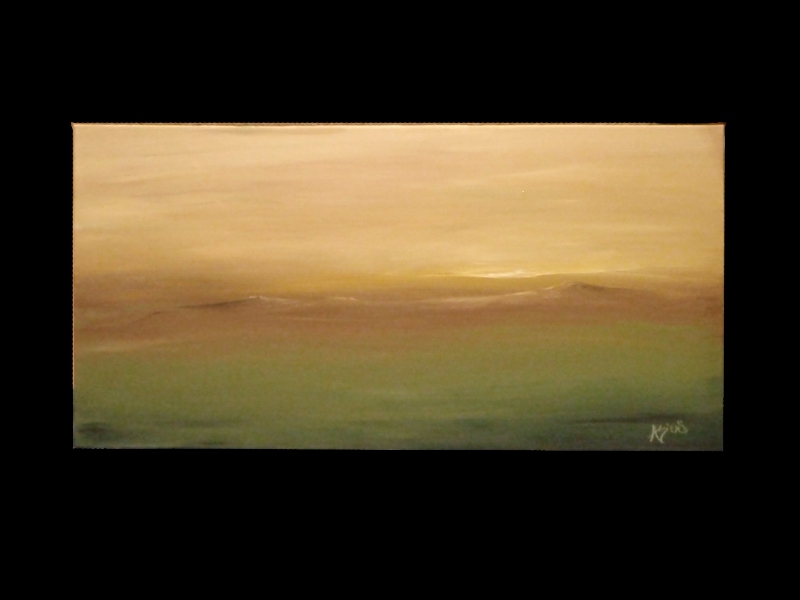
This painting started out as simply a mixture of color…but then it became a very abstract image of the ocean! It is always so amazing when that happens.

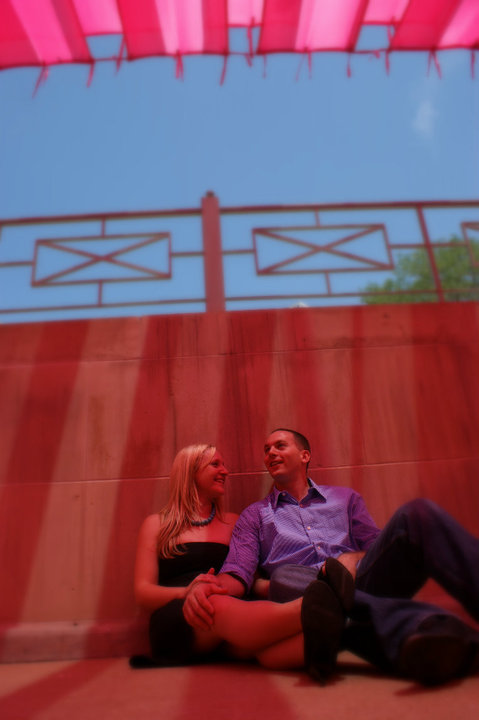
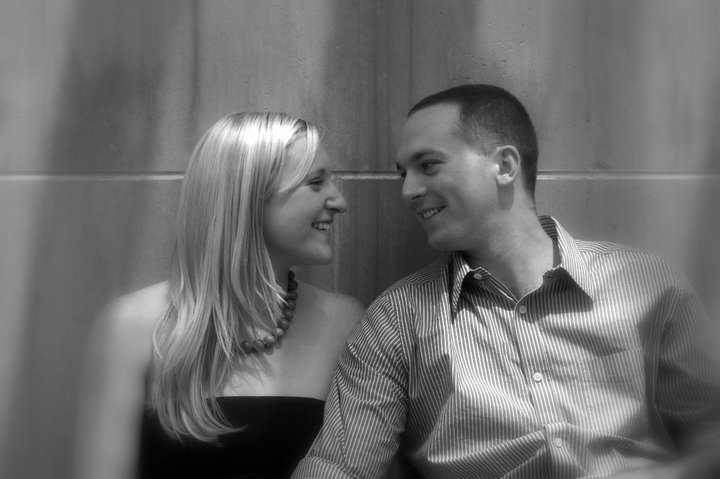
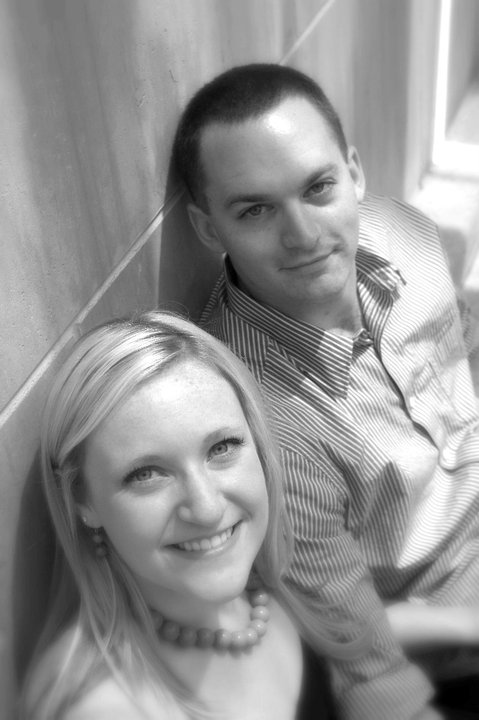
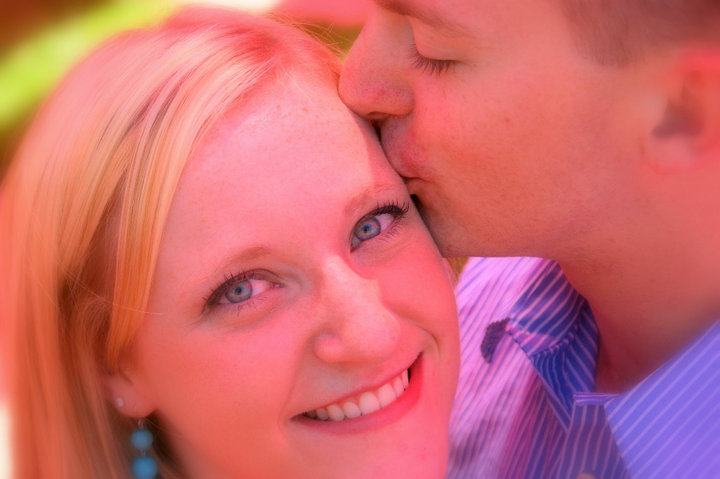
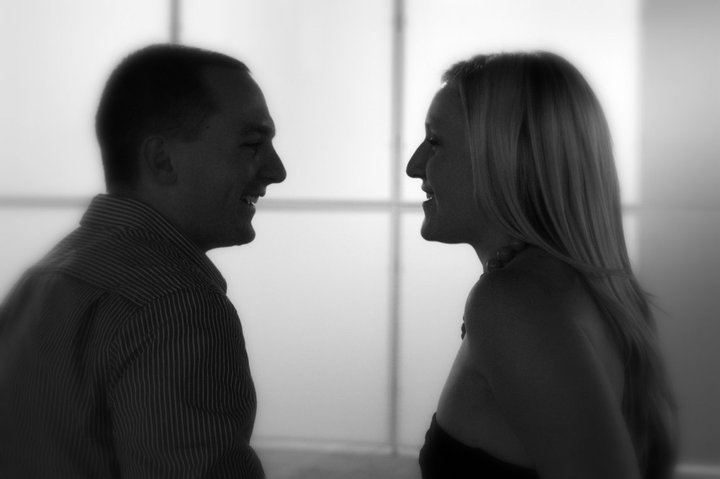
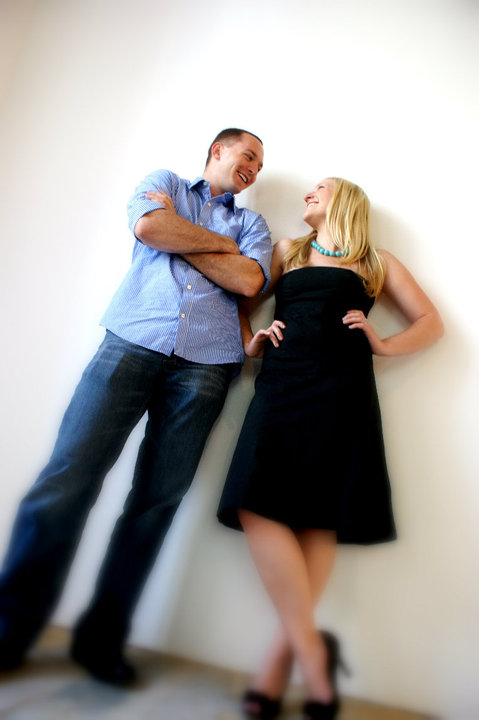
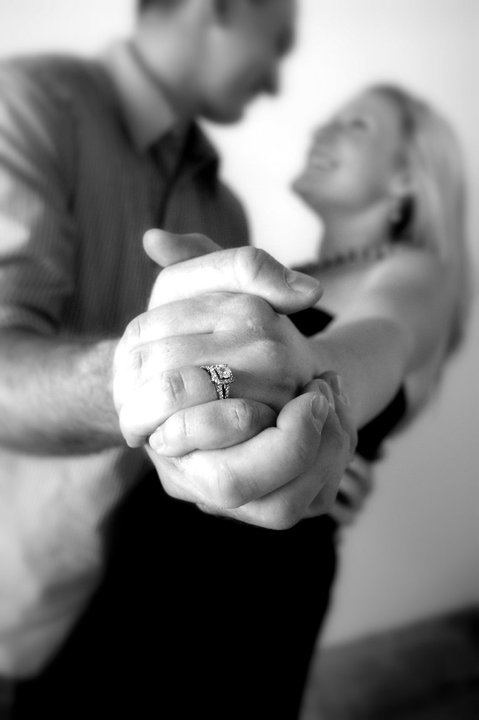
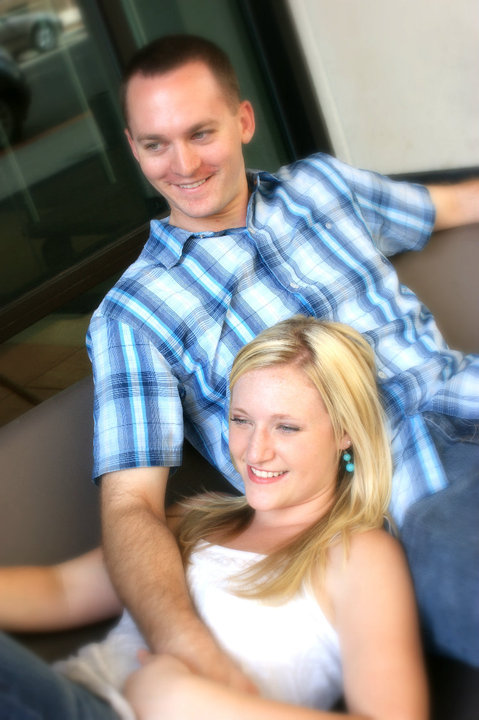
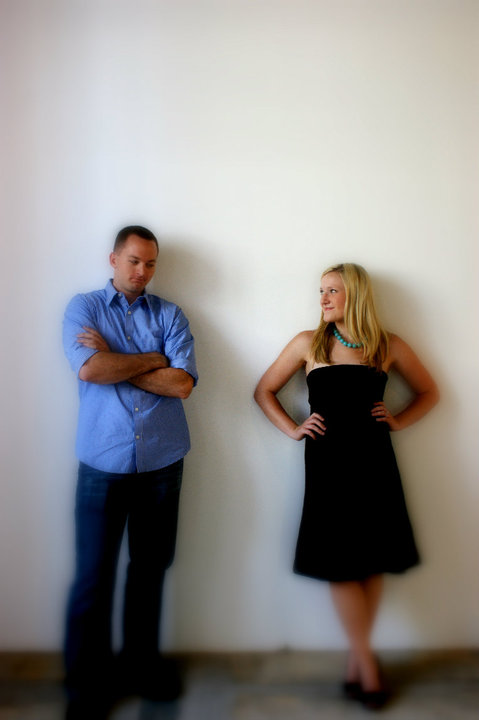
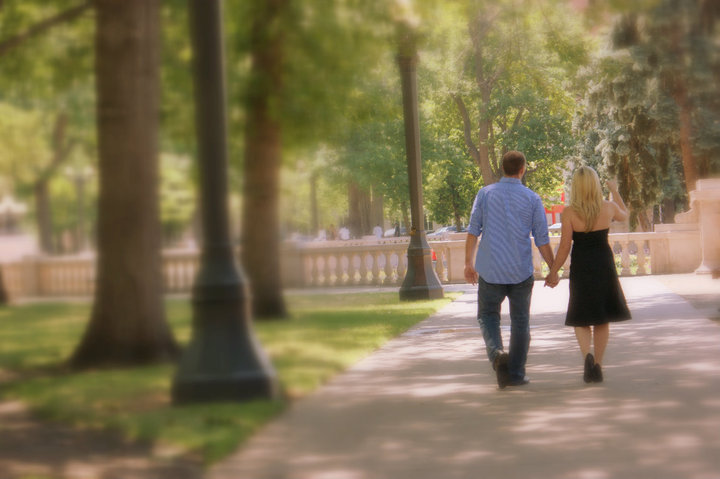
This is an engagement photo shoot I did for my sister and her fiance’. We went downtown and explored the city. We were able to find some very beautiful backdrops. It was such a blast!


I absolutely loved doing these drawings of my son. I really focused shadows and details to give the drawings a photo-realistic look.


I made 54 flower hairpieces for my sister’s bridal shower. It was so much fun to create a variety of colors and styles for each of the ladies attending the shower.

Materials:
-Hair clips of your choice
-Silk flowers of your choice
-Wire cutters
-Hot glue gun
-Hot glue sticks
-Crystals, feathers, other embellishments


I started by cutting the flower off the wire stem using wire cutters.

Then I glued the flower to the clip using the hot glue gun.

Once the hot glue had cooled, I began gluing on the embellishments (crystals and feathers.)

Once the glue cooled they were ready to wear!


